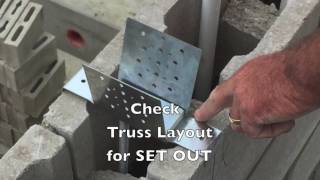
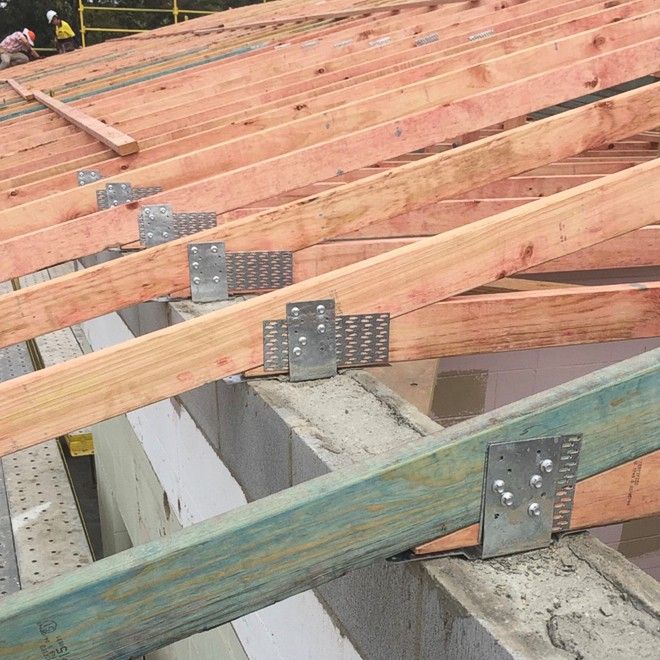
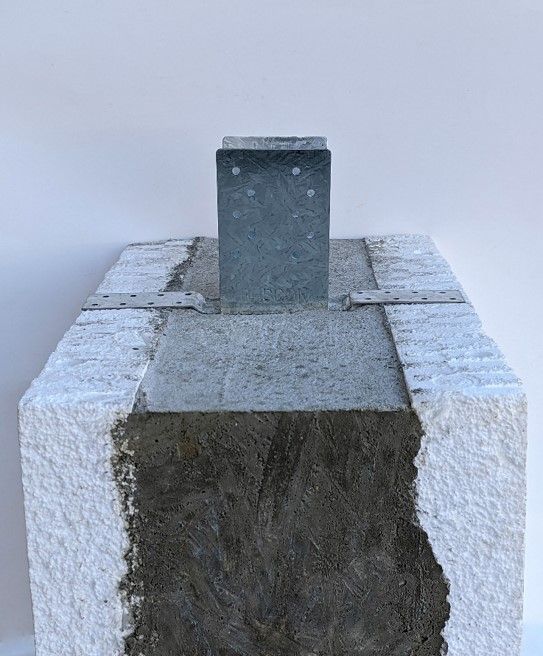
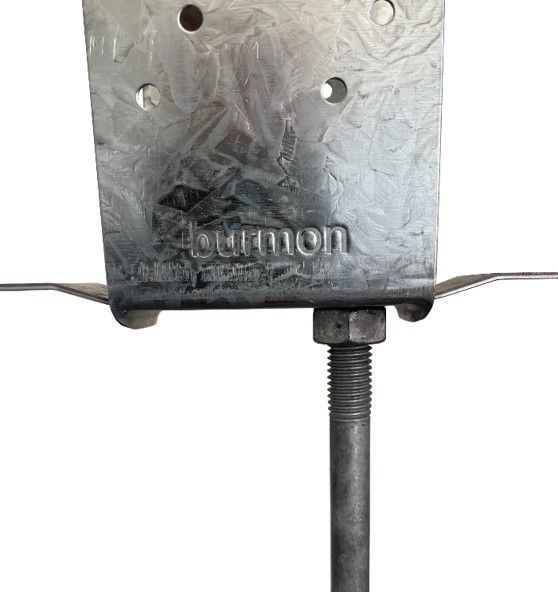
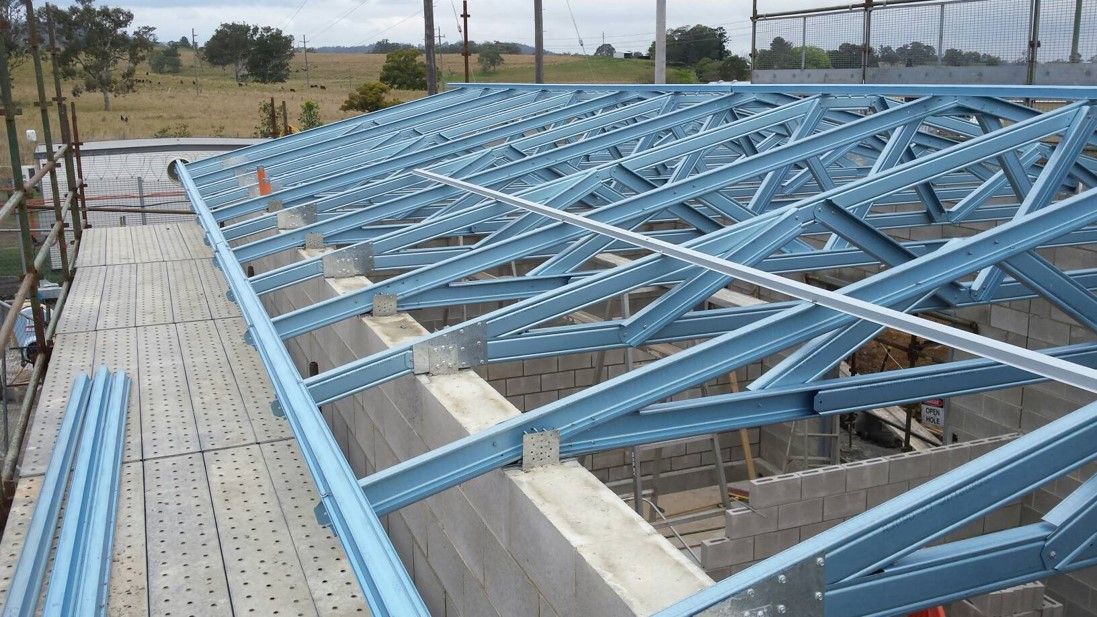
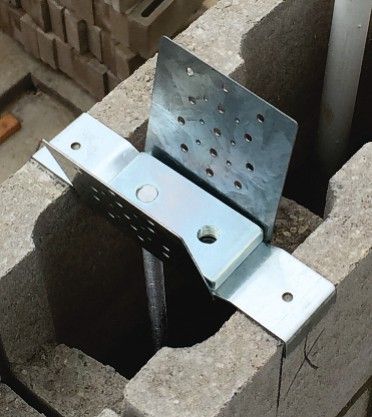
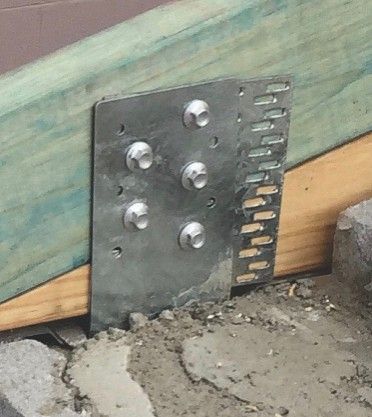
Burmon Brackets for TRUSS CONNECTION TO ICF BLOCK & CMU BLOCK WALL
Designed and Engineered specifically for Concrete Construction
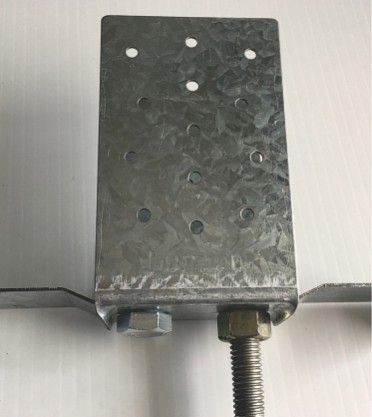
Product code: BHBCON
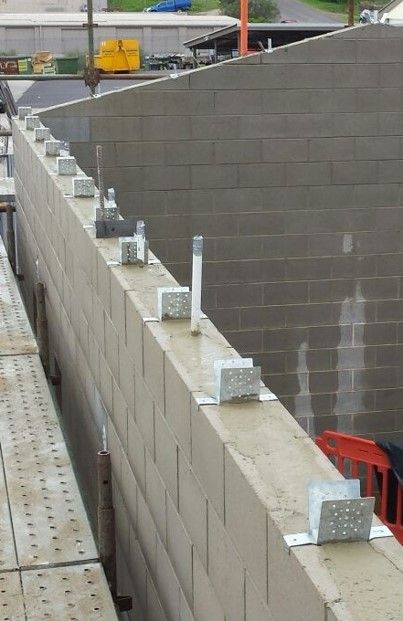
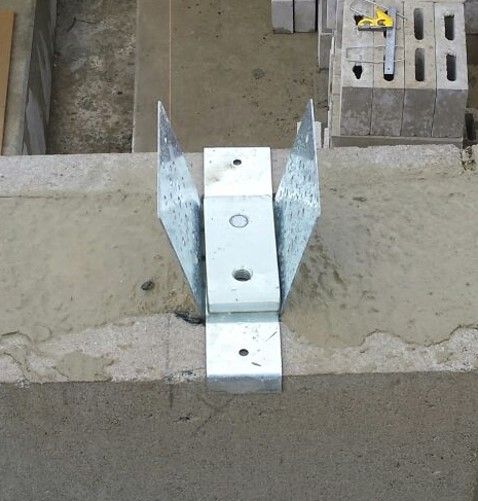
The Burmon Cyclone Bracket has been especially designed for Australian conditions and modern ICF concrete building techniques to deliver safer, more efficient and higher load rafter/truss anchor connections that deliver significant cost savings over the total house build.